In my opinion, Thanksgiving is a vastly underappreciated holiday. It always feels that the moment Halloween is over, Christmas rears its enormous head. The proverbial sleigh bells start to ring so loudly that poor Thanksgiving is nothing but an afterthought as people rush to purchase the latest and greatest gadgets for their loved ones. Especially now that Black Friday has become the monumental shopping event of the year, people can’t wait for Thanksgiving Day to end so that they can score the best deals on cell phones and flat screen TVs. Heck, nowadays stores don’t even wait for Thanksgiving to end anymore and start door buster clearances the moment dessert is removed from the family table.
Over the years, Thanksgiving has become the holiday I typically host for Rob and his family. Personally, I could not be happier about it. You see, I absolutely love traditions and few things make me feel more proud than making delicious, time honored, traditional dishes with special gourmet twists. Knowing this about me, you can imagine my absolute horror and embarrassment when I quickly realized that I truly SUCK at making gravy. Sadly, this realization was mercilessly driven home three years in a row as I tried and miserably failed each time to make the star accompaniment to Thanksgiving dinner. In absolute desperation, I even resorted to buying premade, jarred turkey gravy! (Can you imagine??!!! The HORROR!!!!!) On the brink of my culinary collapse and refusing to fail ONE MORE YEAR IN A ROW, I thought to myself that there must be a better way than jarred gravy. I realized that my problem all lay in timing. Gravy is the last thing you make and needs to happen while you are also trying to pull together a ridiculous amount of side dishes, carve the turkey, pour the wine, get everyone seated and still make sure everything is served hot. Trying to whip up creamy, lump free gravy that doesn’t taste like bland sawdust is almost impossible when faced with all those other tasks. So, what did I do? Naturally, I turned to the Internet. (“Google, tell me what to do, please…”)
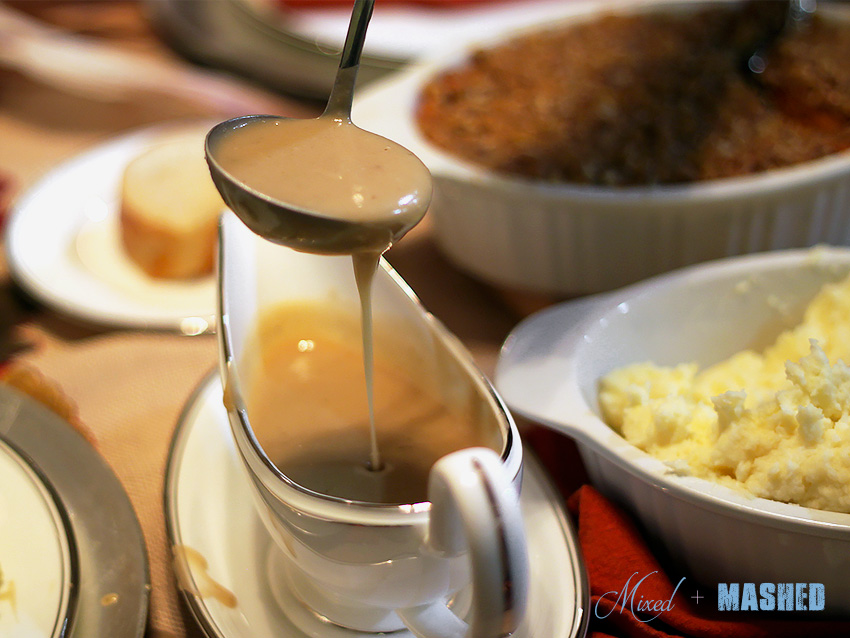
I researched gravy recipe after gravy recipe and they all required the last minute addition of turkey drippings. This sooooooooo did NOT solve my problem; I wanted to taste this mamajama way before the Big Show to make sure I would not be resorting to jarred gravy at the final moment! Frantic, I finally fell upon a magical concept of Make-Ahead turkey gravy and it was as though the sky cleared and a brilliant beam of light broke through the clouds. This was exactly what I needed, but the ultimate question was, “Does it taste good?” The answer is a resounding, “YES!” It tastes so good in fact, that no one will ever know you made your delicious gravy a day or two in advance. Plus, you are now free to attend to the rest of your meal without turning into a crazy person. You can thank me later.
Make-Ahead Turkey Gravy
Recipe adapted from Good Housekeeping magazine
Makes approximately 3 cups
Ingredients:
- 1 Tablespoon olive oil

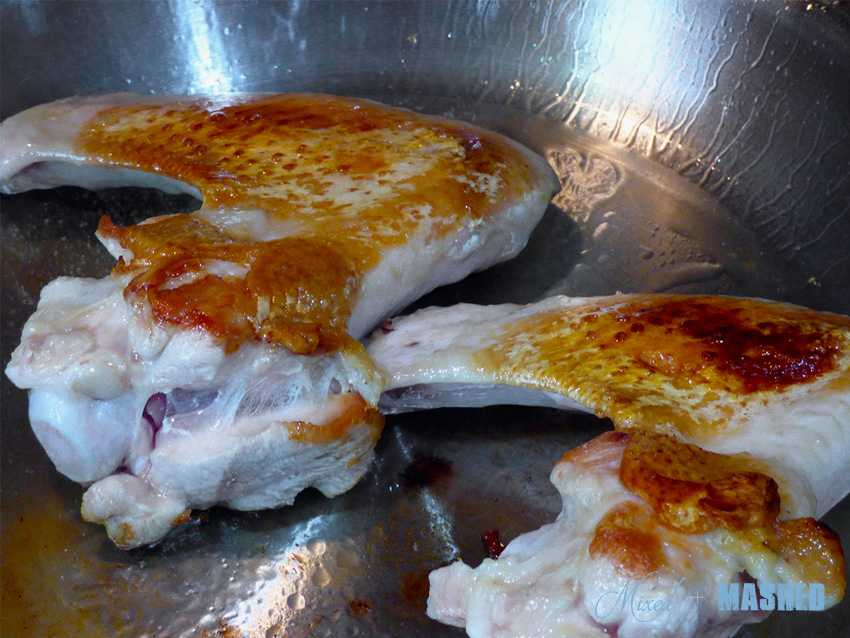
- 2 Turkey wings, separated at the joint to create 4 individual pieces
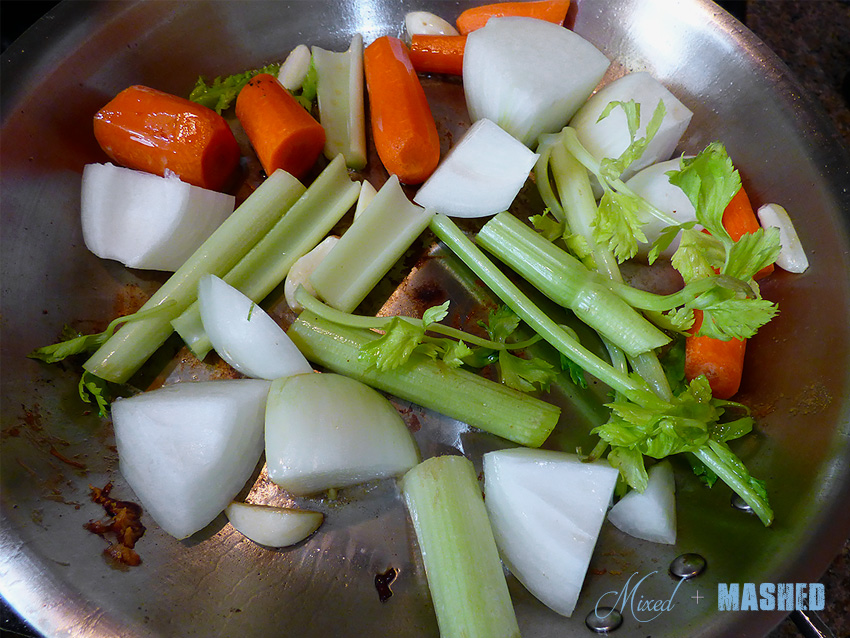
- 1 Onion quartered
- 2 carrots, peeled and cut into fourths
- 2 celery stalks, cut into fourths
- 2 garlic cloves
- ¾ cup dry white wine
- 4 cups chicken stock (preferably homemade)
- 3 cups water
- 2 sprigs thyme
- 2 sage leaves
- 2 bay leaves
- ½ teaspoon salt
- ¼ teaspoon ground black pepper
- 1/3 cup flour
- Up to 3 tablespoons butter and a few cups chicken stock, as needed
- Additional salt and pepper to taste
Instructions:
- Heat the oil in a 12” skillet (or bigger) with deep sides over medium high heat. When the oil is hot, add the turkey wings and thoroughly brown on all sides. By “thoroughly brown,” I mean let it sit undisturbed for at least 5 minutes per side. This will take a lot of time, so feel free to prep all of your other ingredients and start working on your other dishes while you allow the browning to happen. The browning part is important, as this is where all the delicious, lovely flavor comes from. When browned on all sides, remove from the skillet and reserve on a plate.
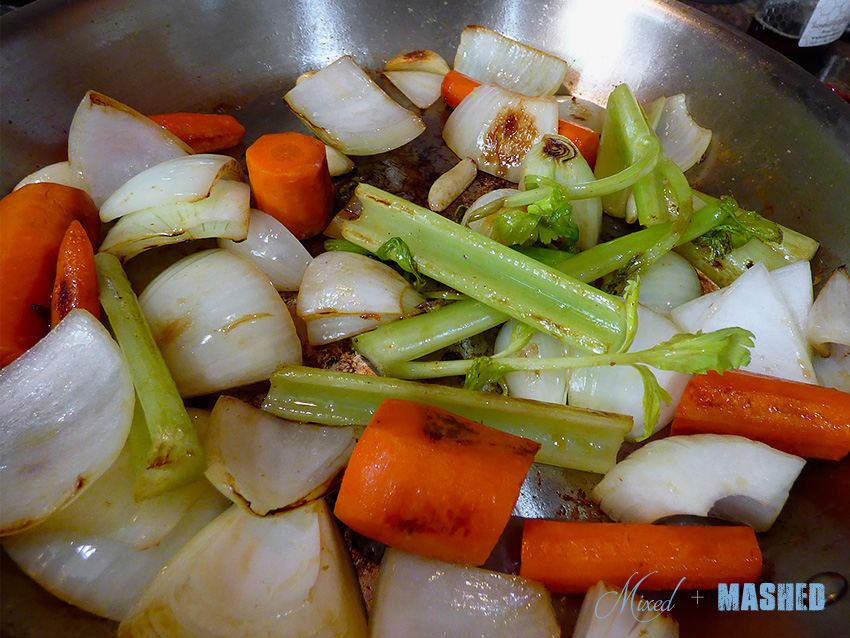
- Add the onion, carrots, celery, and garlic and thoroughly brown in the skillet. When brown on all sides, remove from the skillet and reserve on the same plate as the turkey wings.
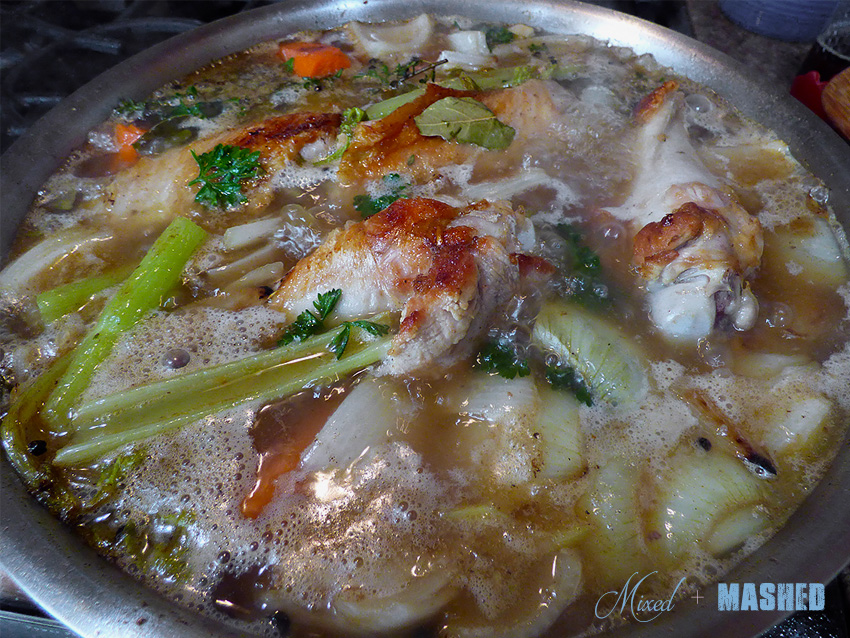
- Deglaze the skillet with the wine, scraping up all the brown bits with a wooden spatula. Pour in the chicken stock and water, stirring well. Carefully add the turkey wings and the veggies to the skillet and try not to slosh the liquid over the sides of the pan. Add the thyme, sage, bay leaves, salt and pepper. Bring to a boil over high heat, then reduce to medium low and simmer uncovered for approximately 45 minutes.
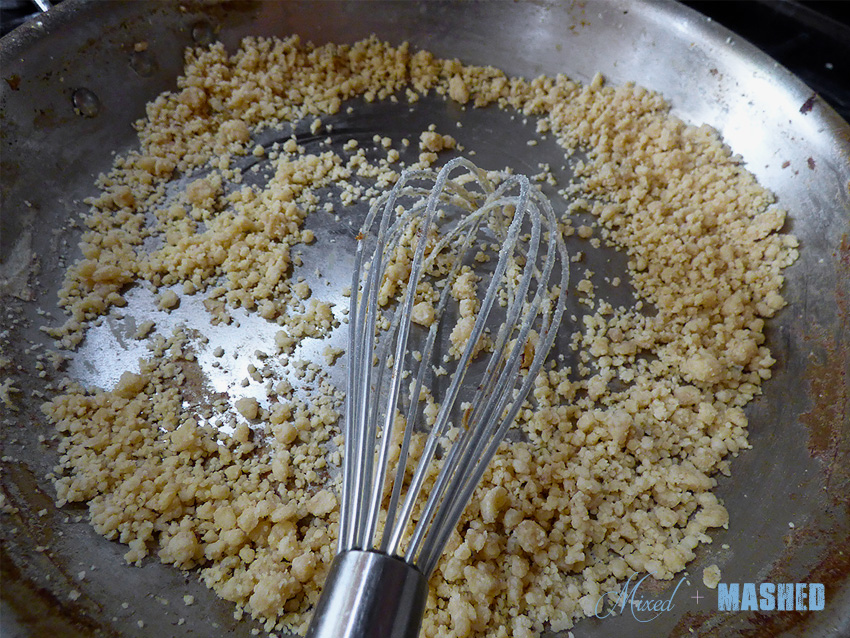
- Strain the liquid into a large bowl and discard the solids. Let the liquid sit for a few minutes to allow the fat to separate. Skim off approximately ¼ cup of fat from the top and put into the skillet. Discard any additional fat, if needed. Reserve the broth base. (Note: I have NEVER accumulated a full ¼ cup of fat before. If this happens, scoop off the fat you can and then melt some additional butter in the skillet to make up the difference. For example, if you get 1 tablespoon of fat, melt 3 tablespoons of butter to make the equivalent of ¼ cup, etc.) Add the 1/3 cup of flour and stir until it accumulates into little pea sized balls. Try to brown the butter as much as possible, stirring regularly.
- Slowly add the broth base ¼ cup at a time, whisking constantly to prevent lumps from forming. (Note: I wish I could say that I am perfect and have lump-less gravy each time, but that has never happened. My secret weapon is the immersion blender. Once I have added all of my broth base, I eventually give up on the whisking and let the immersion blender do the rest of the work for me. If you don’t have an immersion blender, just dump your gravy base into a regular blender or food processor in batches and watch those lumps disappear. Thank you, kitchen gadgets!)
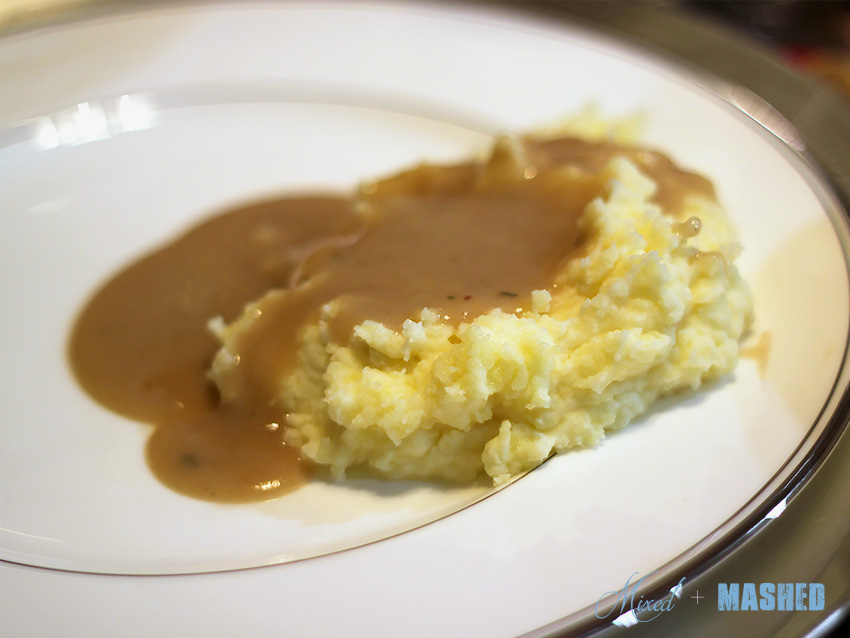
- Allow your gravy to come to a simmer to thicken and cook off the flour taste. Add salt and pepper to taste. If you find your gravy is too thick, or if you need to make more gravy than you have in the pan, whisk in additional chicken stock as needed a ¼ cup at a time until you reach the desired consistency.
- Let cool and store in an airtight container in the fridge for up to 3 days. When ready to serve, reheat over medium low, adding more chicken stock to thin it out as needed. (I find mine is always thicker upon reheating.) To keep my stovetop free, I have reheated the gravy in a slow cooker or fondue pot. If desired, add in your turkey drippings from that day right before serving.